

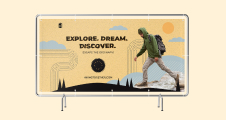


High quality banners specially designed to stand up to wind & outdoor conditions.
01
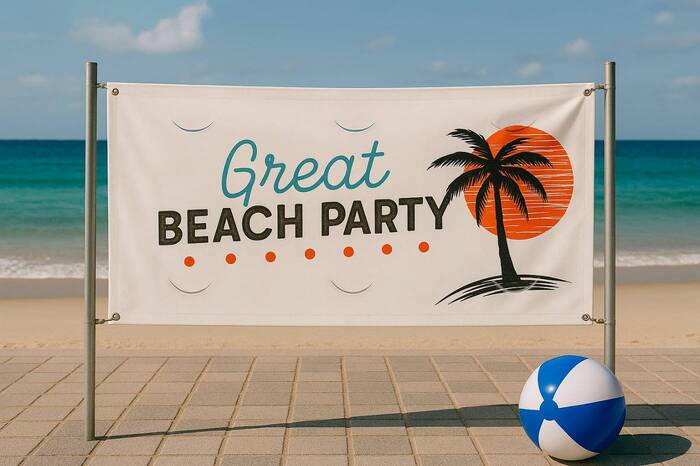
Windy environments require a special kind of banner for best display, durability, and value. Our outdoor banners with wind slits are purpose-built to deliver the best return on your banner investment.
02
- 16oz heavy-duty vinyl material 1” heat-welded
- Hemming on all sides
- Nickel-plated grommets punched every 12” or 24”
- Full color printing durable for 3+
03
These sturdy banners are ideal for outdoor installation between supporting structures, poles, posts, or trees. Wind slits cut directly into the banner fabric allow air to flow through, reducing the potential for tearing, fraying, and damage from wind.
Using Heavy-Duty Vinyl Banners with Wind Slits
Colorful and durable outdoor vinyl banners with wind slits are ideal for:

Colorful and durable outdoor vinyl banners with wind slits are ideal for:
- Construction sites
- Event spaces
- Schools & universities
- Athletic fields
- Parking lots
- Storage facilities
- Farmers Markets, swap meets, flea markets & outdoor vendor spaces
For more information
Visit our Outdoor Banners page, or our pages for specialized banner types: Barricades, Building Facades, and Large Equipment.
Designing Your Outdoor Banner with Wind Slits
You don't need a professional graphic designed or any advanced design skills to make your own great looking banner. Our online design tool is free-to-use and simple. We have a library of hundreds of templates, simply choose the look you want and add you own colors, images, and text.
For more vinyl banner recommendations and tips, visit our helpful Vinyl Banners Buying Guide, Buyer's Guide to Banner Design, and Vinyl Mesh Banners pages.

Outdoor Banners with Wind Slits Features
Here's a closer look at the high quality features that have made us a preferred choice for business banners in the United States:

16oz matte vinyl material printed on one side
Our ultra-sturdy 16oz vinyl banner material is designed to withstand tough conditions. It resists tearing and fraying and the wind slits provide an extra layer of performance in windy conditions. Your artwork is printed in beautiful full color on the front side.

Wind Slits
Each slit is an 8.5” radius cut, placed 16-20” apart on your banner. Banners that are 2-3' wide feature two rows of wind slits; 4-5' wide banners have three rows of wind slits. Wind slits minimally impact banner image visibility.

Metal grommets every 12”
To maximize secure installation, these banners feature #2 nickel-plated metal grommets punched every foot across both top and bottom edges. Each grommet has about a ¾” diameter, with ¼” hole.

Heat-welded hemming
We use an advanced finishing process that creates heat-welded hems that are seamlessly attached at the banner back on all four edges. This is an added element of protection that improves durability and performance.
Installing Banners with Wind Slits
Installation recommendations vary according to banner size:

For banners up to six feet wide
For this size range, it is usually enough to simply stretch it out and install fasteners at each corner through the grommets. Any standard outdoor-rated nylon string can be used, or flexible bungee cords—anything with a diameter around 3/16” will do. If working with anything springy like bungees, always remember your own and public safety, and wear safety glasses where applicable.
For banners eight feet and wider
Larger banners usually require a bit more attention to installation, to maximize the banner's outdoor life. We recommend running an aircraft cable, or any strong rope, very tightly between the two ends of your structure on both the top and bottom edges. Spacing should be about an extra foot compared to your banner width. After you’ve created this connection between the poles, you can now attach your banner to it through every grommet hole provided, with any nylon rope or similar material.
Order Your Custom Outdoor Banners with Wind Slits Today!
It only takes a few minutes to design and order attractive outdoor banners featuring wind slits:
- Use our online tool to design your outdoor banner;
- Choose a template & customize with your images, color or text;
- Select finishing options;
- Use the preview image to confirm how it looks;
- Place your order & let us go to work!
Contact our support team with any questions or special orders. Banners with wind slits are a better way to share your message with viewers outdoors.

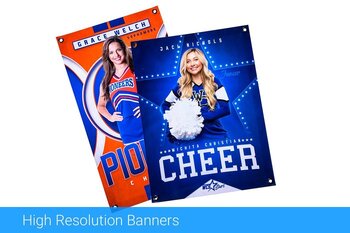
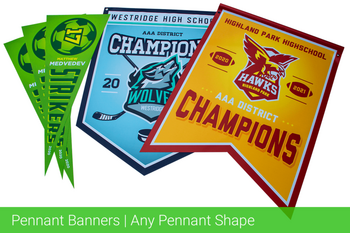
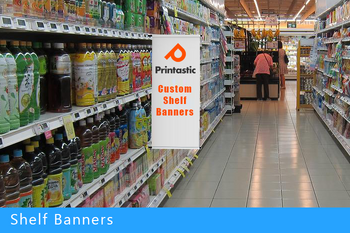
Related Products

Product Reviews
4.9

1 reviews
5
1
4
0
3
0
2
0
1
0
Review this Product
Sort by
Fantastic banner! Received as promised, great price and fast turn around. Recommend A+


